
A Simple Chic Upgrade for Dollar Glass Plates
If you tuned in earlier this week, then you already know that I'm planning an awesome dinner party with my girls - my longtime girlfriends that is. Our lives are so busy that we rarely have time to get together - just us girls. So I'm pulling out all the stops, in a budget friendly way, to make my ladies feel extra special.
I’ve got the perfect “girls night in” gift bags for them. And I’ve been practicing some simple bar cart styling techniques for after dinner drinks. We’ve talked before about how practical it is to use glass in decorating. Today I’m putting that to the test by sharing a super easy craft using $1 glass plates.
Affiliate links may be included in this post. This means that should you purchase a linked product, I may receive a small commission, but at no additional cost to you. To read my full disclosure click here.
How to Upgrade Clear $1 Glass Plates with Fabric
I recommend that you read through ALL of the instructions before attempting this, as I include alternative ways to achieve the same results. First, you'll need to gather your supplies.
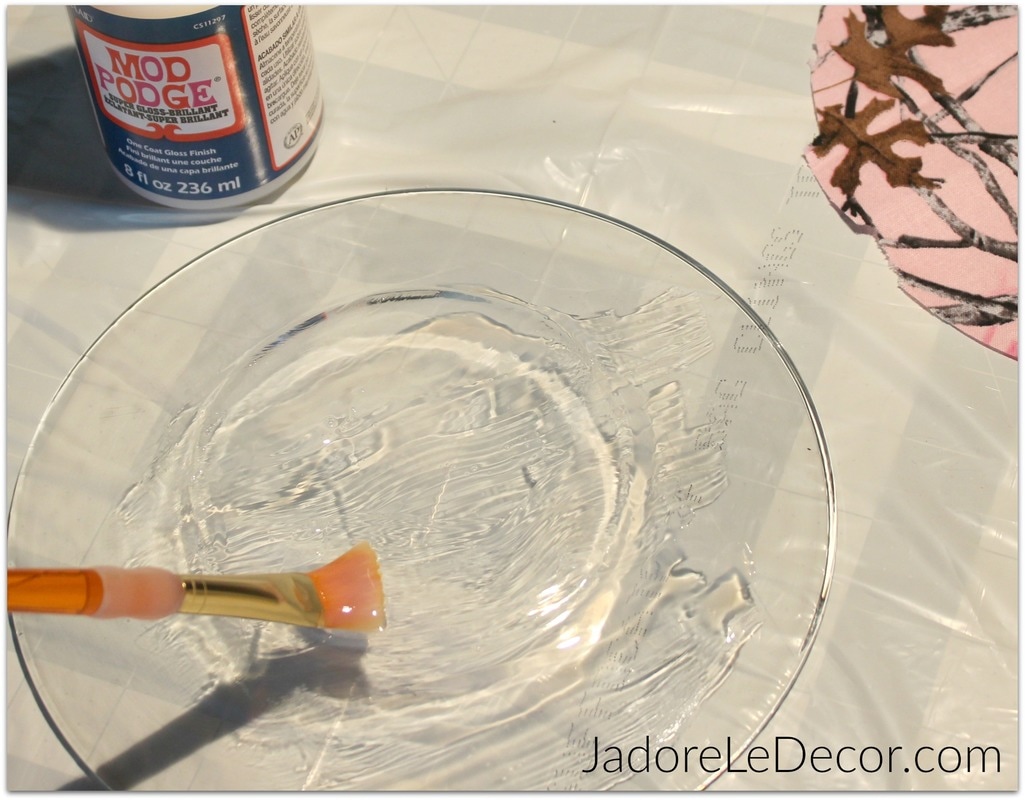
1 bottle of Mod Podge (Regular or Dishwasher safe version)
4 Clear glass plates* (I used salad sized plates)
Scissors
One half yard of fabric (Plates larger than salad size may require more)
Paint brush or sponge
Emory board
*Check DollarTree, Walmart, and thrift stores for inexpensive quality glass plates.

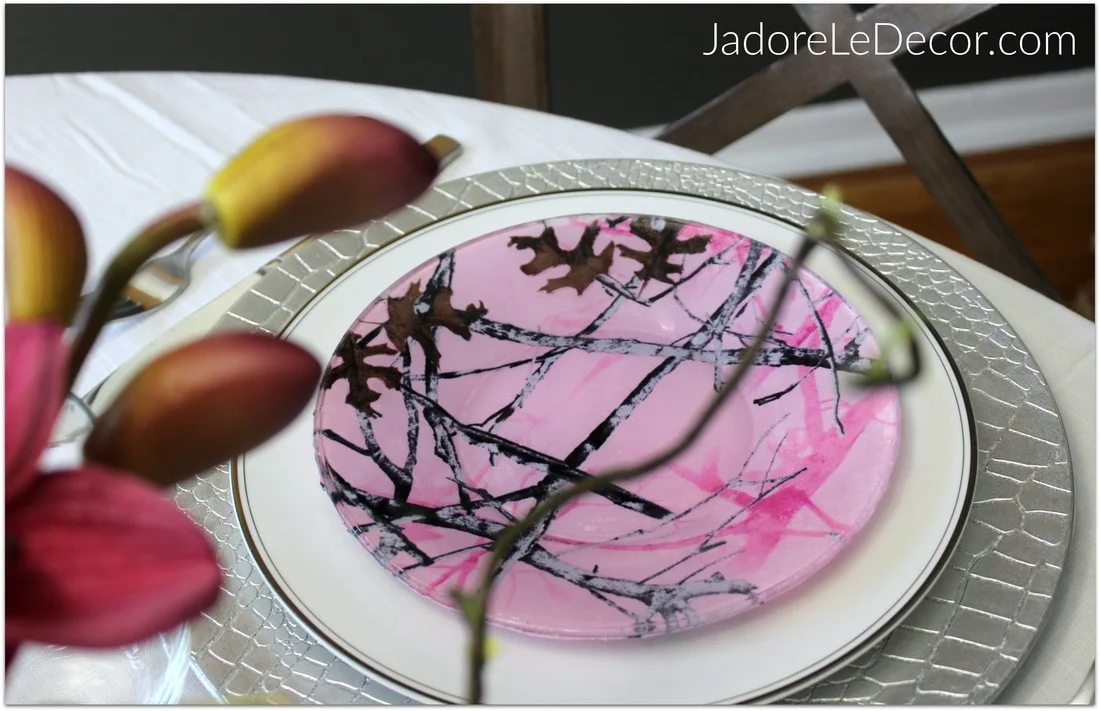
www.JadoreLeDecor.com | See how I upgraded a set of $1 plates for a beautiful table arrangement. | Dollar Tree DIY | DIY Plates
Step 1
Lay a piece of fabric with the front side facing downward, and place the glass plate on top to trace it out. I kept my plate face up to make the circle slightly bigger than the actual space it would be covering.
Use scissors or a cutter to snip out a circle about 1 to 1.5 inches larger than the plate.

www.JadoreLeDecor.com | See how I upgraded a set of $1 plates for a beautiful table arrangement. | Dollar Tree DIY | DIY Plates


www.JadoreLeDecor.com | See how I upgraded a set of $1 plates for a beautiful table arrangement. | Dollar Tree DIY | DIY Plates


www.JadoreLeDecor.com | See how I upgraded a set of $1 plates for a beautiful table arrangement. | Dollar Tree DIY | DIY Plates
Step 2
Using your paint brush or sponge, apply the Mod Podge glue to the back of the glass plate.
Using a large amount of the glue will lengthen the drying time. However, I found that the more glue I used, the more vibrant the fabric became.
Alternative Method: I used gloss finish Mod Podge, but the dishwasher safe Mod Podge is recommended.

www.JadoreLeDecor.com | See how I upgraded a set of $1 plates for a beautiful table arrangement. | Dollar Tree DIY | DIY Plates
Step 3
Apply the fabric with FRONT FABRIC SIDE FACING THE BACK OF THE GLASS PLATE. My apologies for "shouting" but I want to help you avoid a messy mistake.
Using your hands or a rubbery straight edge, press and smooth the fabric into place.
Use pressure to remove any air bubbles or excess glue.
Apply 1 more coat of Mod Podge to the back of the fabric and let dry.
Step 4
Once the glue has dried, trim any overhanging fabric to the size of the plate.
Use the Emory board to smooth the edges of the plate and to remove an excess glue.
Alternative Method: After finishing the first plate, I realized that I could have glued the fabric on first, and then trimmed it to size afterwards. Either way works just fine.
www.JadoreLeDecor.com | See how I upgraded a set of $1 plates for a beautiful table arrangement. | Dollar Tree DIY | DIY Plates


www.JadoreLeDecor.com | See how I upgraded a set of $1 plates for a beautiful table arrangement. | Dollar Tree DIY | DIY Plates
I'm so grateful to my crafting-buddy Mary T. for suggesting this project to me. What do you think about this simple DIY? I'd love to get your thoughts in the comment box below.


One more favor may I ask of you?
If you enjoyed this post
Please share, tweet or pin it.
Merci Beaucoup!
